Use more of SpeechExec
Settings menu
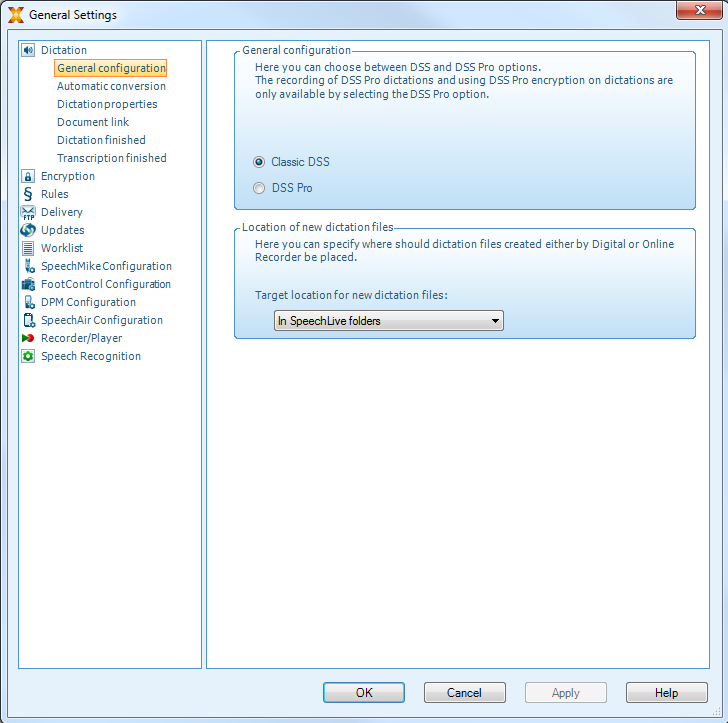
The General Settings window allows personalization of a variety of application settings, such as dictation options, encryption, user profiles, delivery rules, software updates and work list options. It also allows the configuration of a PocketMemo, SpeechMike, SpeechAir, SpeechOne, a foot control and recorder/ player settings.
Click Settings > General settings on the menu bar to open the Settings menu. The left pane contains the list of the available settings.
Select an option in the list to display the associated options on the right pane.
Click Apply to save the changes or click OK to save the settings and close the window.
 |
Note
All or some of the settings can be preconfigured and locked by your system administrator. Locked settings are read-only.
PocketMemo Configuration Wizard
The PocketMemo Configuration Wizard guides you through the device configurations and settings of a PocketMemo.
Make sure that the PocketMemo is turned on and connect the device to the computer using a USB cable.
Start Philips SpeechExec software.
Click Settings > General settings on the menu bar and select DPM Configuration > DPM Wizard from the list on the left side.
Click the Start Wizard... button to open the wizard. Follow the onscreen instructions to customize the PocketMemo.
Click the Finish button to close the wizard and confirm the transfer of the new settings to the PocketMemo.
Configure the download process from PocketMemo
How and which files are downloaded after a PocketMemo is connected, can be configured in the Settings menu.
Make sure that the PocketMemo is turned on and connect the device to the computer using a USB cable.
Click Settings > General settings on the menu bar and select DPM Configuration > DPM settings from the list on the left side.
Click the Start configuration… button.
X The Recorder configuration window opens.
Select Downloading in the left pane.
Select which files should be downloaded from the PocketMemo. The download settings also allow the user to specify if files will be deleted on the PocketMemo after they are downloaded.
Click OK to save the settings and close the window.
Use Philips SpeechLive
Philips SpeechLive is a cloud dictation solution that allows you to store, access and share dictation files from anywhere in the world and around the clock while guaranteeing maximum file security.
Before you send a dictation to SpeechLive, you need to have a valid SpeechLive account. If you are not using SpeechLive yet, create a new user account at www.speechlive.com.
Configuring SpeechLive
Click Start SpeechLive
 on the toolbar.
X The SpeechLive configuration wizard window opens.
Enter your Email address and Password.
Click Next.
X The SpeechExec dictation software is now linked to your SpeechLive user account.
Note
For more information about how to use SpeechLive and SpeechLive services, visit speechlive.com/help.
Send dictation files via email
SpeechExec allows dictation files to be transferred via email directly to the transcriptionist or any other recipient.
Note
If you are not connected to the Internet, the QuickSend option (if activated) is not available. All dictation files will then be saved in the Outbox folder. You can send these files later as soon as you are connected to the Internet.
Set up an email profile
To transfer dictation files directly by SpeechExec without using the computer’s default email application, you need to set up an email profile.
Note
When no email profile has been set up, emails are sent via the default email application of the computer (e.g. Microsoft Outlook).
To set up an email profile:
Click Settings > General settings on the menu bar to open the Settings menu, and select Delivery > Email from the list on the left side.
Deselect the option Use your default emailing program to send dictations (QuickSend).
Click the Add... button to add a new profile. Select a type of profile, enter a profile name and click OK.
X The settings window for the selected profile is displayed.
Enter the settings for the selected profile and click OK to save the settings.
Manually send dictation files via email
You can send dictation files manually with the Quick Send option and your default email program. Alternatively, you can save your dictations to the Outbox folder and send all files bundled at a later time.
Note
If you want to use the QuickSend option, make sure it is activated in Settings > General settings > Delivery > Email.
To transfer dictation files manually:
Select one or more dictation files from the work list.
Click the
 Submit for email button.
X If you have activated the QuickSend option, an email window with the attached dictation file(s) opens either with the computer’s default email application or via the configured email profile.
X If you have deactivated the QuickSend option, the dictation file(s) are saved in the Outbox folder and a draft email window opens for each dictation file separately.
Enter recipients, body text and additional attachments.
If you have activated the QuickSend option, click Send to send the message.
If you have deactivated the QuickSend option, click OK to close the draft email window and send the dictation files bundled at a later time.
To send the dictation files bundled at a later time, click the
 Send now button on the toolbar.
X All dictation files in the Outbox folder are transferred. See Automatically send dictation files for more information about sending dictation files in the Outbox folder automatically.
Note
The Outbox folder is hidden by default. To display the Outbox folder in the Folder tree, click Settings > General settings on the menu bar and select Work list > Folders from the list on the left side. Select Outbox and change the Visible option to Yes.
No more than five dictation files can be attached to an email at a time. If more than five dictation files are selected, SpeechExec creates a new email for each group of five files that should be sent by the user manually.
Set up automatic email sending
You can have dictation files automatically prepared for email sending when files are downloaded from a Pocket Memo.
For PocketMemo:
Click Settings > General settings on the menu bar to open the Settings menu.
To set up automatic sending after a dictation file is downloaded from a PocketMemo, select DPM Configuration > Delivery after download. Activate the Email option. Optionally, click the Configure button to set up default contents for emails (recipients, subject, body text, attachments).
X Dictation files will now be automatically copied to the Outbox folder when they downloaded from a PocketMemo.
Cick the
Send now button on the toolbar to transfer all dictation files saved in the Outbox folder. See Automatically send dictation files for more information about sending dictation files in the Outbox folder automatically.Note
The Outbox folder is hidden by default. To display the Outbox folder in the Folder tree, click Settings > General settings on the menu bar and select Work list > Folders from the list on the left side. Select Outbox and change the Visible option to Yes.
Automatically send dictation files
By default, dictation files in the Outbox folder are transferred only after clicking the Send now button on the toolbar. However, you can change this setting and send dictation files automatically.
To send dictations automatically:
Click Settings > General settings on the menu bar to open the Settings menu, and select Delivery > Send/receive from the list on the left side.
Activate the option Send and receive automatically and set a time interval for dictations to be sent automatically.
Click the OK button to save the settings.
X Dictation files in the Outbox folder will now be automatically sent via email.